
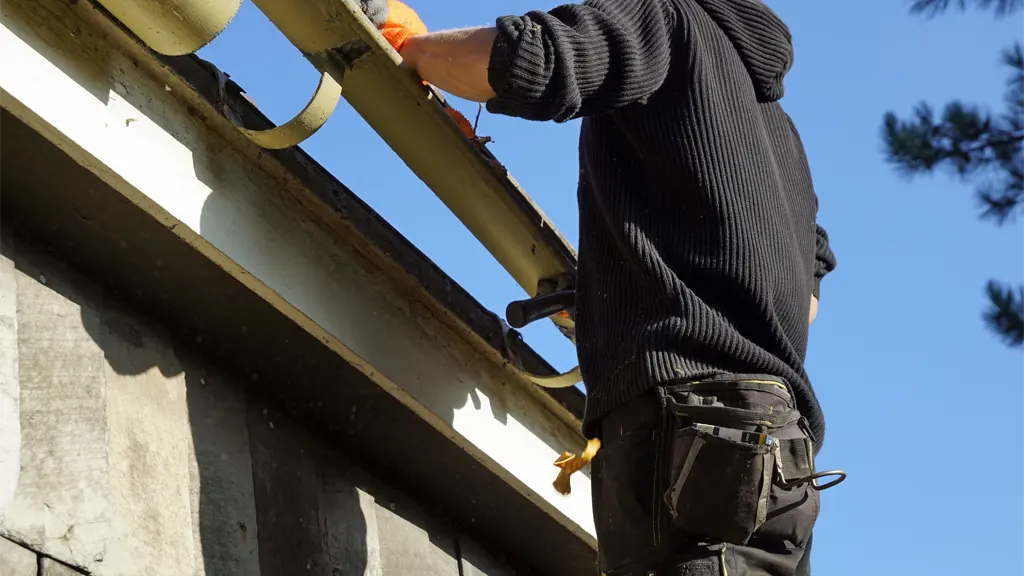
Gutters play an important role in managing roof runoff and directing water away from the home. When planning a gutter replacement or new installation, accurate measurements help support proper fit, drainage, and long-term system performance. This guide explains the basic measurement process and why accuracy matters.
When planning a gutter replacement or installation, precision is not optional—it is critical. Even minor measurement errors can disrupt water flow, cause overflow, and lead to long-term structural damage.
This guide explains how to measure gutters correctly, with a clear focus on why accuracy at every step directly affects system performance.
Project Preparation Checklist
Measuring gutters involves more than just checking length. Looking at the home’s layout, drainage conditions, and existing gutter issues can help provide a better understanding of what the system may need.
- Fascia Integrity: Inspect for rot or structural damage. Gutters require a solid foundation and cannot be securely mounted to compromised wood.
- Roof Specification: Identify the material and slope. These factors directly dictate water velocity, necessary gutter sizing, and appropriate hanger selection.
- Existing Hardware: Inspect for sagging gutters, persistent leaks, or visible rust. Use these signs of failure to identify and correct previous installation errors.
- Drainage Strategy: Map out discharge locations, such as underground drains or safe yard areas. Verify that the surrounding soil can handle the redirected volume.
- Structural Obstructions: Identify trees, utilities, or architectural features. Ensure these elements will not interfere with gutter runs or ladder access.
- Moisture Patterns: Locate existing overflow areas or siding stains. Documenting these issues during rainfall helps reveal hidden drainage problems before you build.
How to Measure Gutters: Step-by-Step Process
1. Determine the Optimal Gutter Size
Selecting the correct size is the foundation of an effective drainage system. This decision is based on your roof’s total surface area, its pitch (steepness), and local rainfall intensity.
- 5-inch K-style: The standard for most residential homes with moderate roof pitches.
- 6-inch K-style: Necessary for large roof spans, steep pitches (which accelerate runoff), or regions prone to heavy downpours.
Pro Tip: Gutter “size” refers to the top opening width. When measuring existing gutters, measure from the back of the trough to the outer front lip.
2. Calculate Total Linear Footage (Fascia Runs)
Linear footage dictates the amount of material needed for the horizontal sections of the system.
- Measure the Fascia: Record the length of every roof edge where a gutter will be attached.
- Factor in Complexity: For every inside or outside corner, you will need extra material for miters.
- The “Waste Rule”: Always add a 5–10% waste factor to your total linear footage to account for cutting errors and seam overlaps.
Note: Do not include downspouts in this total; they are calculated as vertical footage.
3. Plan Downspout Placement & Vertical Footage
Downspout placement should be planned based on the roof layout, the length of the gutter runs, and how water needs to be discharged away from the home. In general, larger roof areas or longer gutter runs may require more drainage capacity, and proper placement is important for helping water move out of the system efficiently.
- Capacity Rule: A 2×3-inch downspout typically handles about 600–800 sq. ft. of roof area, while a 3×4-inch downspout can manage approximately 1,200–1,400 sq. ft., depending on rainfall intensity and system design.
- Placement Strategy: Aim for one downspout for every 20–40 feet of gutter run.
- Vertical Measurement: Measure from the gutter outlet to the ground.
- Extension Allowance: Add 3–4 feet per downspout to account for elbows and the discharge extensions that direct water away from the foundation.
4. Calculate and Set the Gutter Pitch (Slope)
A proper slope ensures that gravity moves water toward the downspouts rather than letting it pool in the trough.
- Standard Ratio: 1/4-inch drop for every 10 feet of horizontal run.
- Calculation Example: A 40-foot gutter run requires a total drop of 1 inch from the highest point to the downspout.
- The “High Point” Rule: For longer gutter runs, a center high-point design may be used, allowing water to flow toward downspouts at both ends. This helps balance drainage and maintains a cleaner, more uniform appearance.
Improper Gutter Pitch and Its Impact
| Issue | Insufficient Slope (< 1/4″ per 10′) | Excessive Slope (> 1/2″ per 10′) |
| Water Flow | Standing water attracts mosquitoes | Water “overshoots” the downspout |
| Maintenance | Rapid silt and debris buildup | Increased erosion at the outlet |
| Aesthetics | Looks level but causes sagging | Distractingly slanted roofline |
Pro Tip: Use a string line and a line level to mark your high and low points on the fascia before installation. This ensures a consistent, professional-grade slope across the entire run.
How Slope Precision Varies by Gutter Type
Accurate measurement becomes even more critical when factoring in gutter type. Each system responds differently to minor measurement errors.
| Gutter Type | Sensitivity to Error | Why Precision Matters |
| K-Style | Moderate | Most common and relatively forgiving, but prone to slow-drain sections if the pitch is inconsistent. |
| Half-Round | High | Their curved design holds less water; even minor slope errors can quickly lead to pooling. |
| Seamless | Extreme | Fabricated as a single continuous piece, correcting slope errors after installation is nearly impossible. |
| Box Gutters | Maximum | Require engineered slope calculations; even small deviations impact commercial-grade performance. |
Common Measurement Pitfalls (and How to Avoid Them)
Even with careful measuring, a few small details can impact how well your gutter system fits and performs. Keeping these in mind helps ensure a smoother installation.
- End Cap Planning: Account for end caps when planning gutter runs and termination points, as they define how each section is properly finished.
- Drip Edge Clearance: Check the shingle overhang and drip edge position. If water doesn’t flow cleanly into the gutter, it may run behind it despite accurate measurements.
- Downspout Discharge Space: Make sure there is enough room where the downspout exits. Planning for splash blocks or extensions helps direct water safely away from the foundation.
- Thermal Expansion: Gutters expand and contract with temperature changes. On longer runs, leaving slight flexibility helps prevent stress on joints and fasteners over time.
Why Professional Installation Matters
Even precise measurements only perform as intended when installed with proper technique and equipment.
- Seamless vs. Sectional: Sectional gutters have multiple joints, which increase potential leak points over time. Seamless gutters are custom-formed on-site to exact measurements, resulting in fewer connections and improved long-term performance.
- Precision Pitch Calibration: Professionals use laser levels and string lines to establish a consistent slope across the entire run. This ensures controlled water flow and helps prevent standing water, overflow, and long-term sagging.
- Safety and Installation Control: Gutter installation involves working at height and on uneven or sloped surfaces. Professionals are trained, equipped, and experienced in managing these conditions safely while maintaining installation accuracy.
Final Thoughts
Measuring gutters correctly is the foundation of an effective water management system. From the linear footage of the fascia to the minute increments of the pitch, every dimension must be calculated with precision. While understanding the measurement process helps you plan better, professional installation ensures those measurements are executed accurately to protect your home for years to come.
Get Expert Gutter Measurements Done Right
Ensure precision from the start. Schedule a professional assessment today and protect your home from costly water damage.
Contact Us